In the realm of vehicle customization, auto window tinting stands as a popular option offering both aesthetic appeal and practical benefits, such as UV protection and privacy. However, achieving a flawless, bubble-free tint installation often proves to be a daunting task, even for experienced hands.
As experts in this field, we have curated a collection of tips and techniques that can elevate the quality of your auto window tinting installation, ensuring it meets professional standards. While these insights might seem straightforward, their impact is profound and could radically transform your window tinting outcomes.
Stay tuned as we unravel these game-changing tips, which promise to make the intricate process of window tinting less challenging and more rewarding.
Understanding Window Tinting Basics
To fully appreciate the process of auto window tinting, it is essential to first grasp the basic principles underlying this widely utilized automotive enhancement. Window tinting involves the application of a thin laminate film to a vehicle’s windows to darken them.
This process can provide numerous benefits, including reducing glare, blocking harmful UV rays, enhancing privacy, and improving the aesthetic appeal of the vehicle. The tinting material is chosen based on its ability to reflect sunlight, its durability, and its appearance.
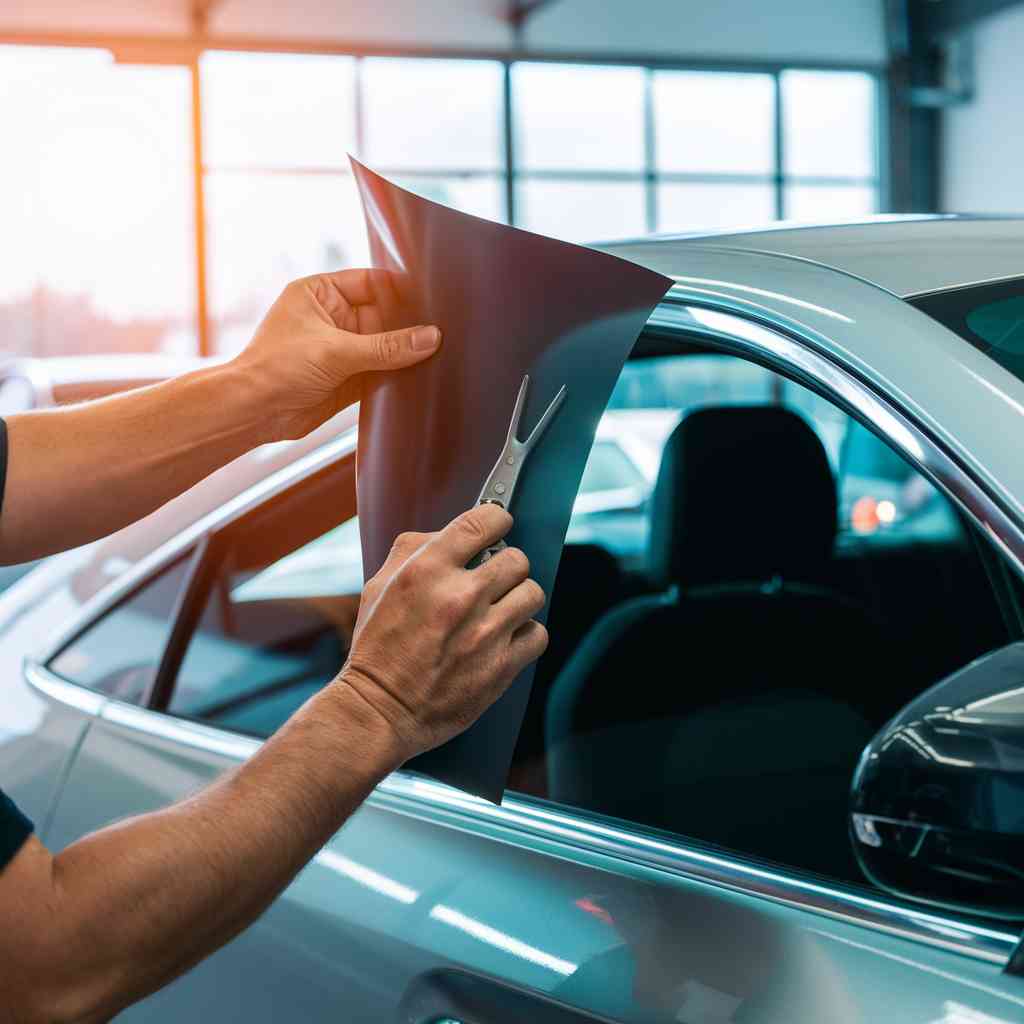
The process of application requires precision, as the film must be accurately cut to fit the window, and carefully applied to avoid bubbles or creases. Understanding these basics is the first step towards perfect auto window tinting installation.
Step-by-Step Tinting Installation Guide
Having established a firm understanding of the principles of auto window tinting, we now proceed to the practical aspect: a comprehensive guide on the step-by-step installation process.
-
- Step 1: Preparation
Clean the inside of your windows thoroughly to ensure no dust or debris interfere with your tint application.
Cut your window tint to the size of your window, leaving approximately an inch of extra material on each side.
- Step 1: Preparation
-
- Step 2: Application
Apply the adhesive side of the tint to your window, starting from the top and working your way down.
Use a squeegee to smooth out any bubbles or creases.
- Step 2: Application
-
- Step 3: Finalization
Trim the excess tint from the edges of your window.
Let the tint dry completely before rolling down your windows.
- Step 3: Finalization
This step-by-step guide will ensure a perfect auto window tinting installation.