In the realm of automobile customization, vinyl wrapping has emerged as an innovative and cost-effective alternative to traditional paint jobs. As you embark on the journey of comprehending the intricacies of vinyl wraps, it is vital to distinguish between different types of vinyl and their respective applications.
This pursuit demands a meticulous understanding of the step-by-step application process, in order to achieve a flawless finish and long-lasting durability. The ensuing discourse will attempt to demystify the essential basics of vinyl wrapping, providing you with the requisite knowledge and skills to transform the aesthetic appeal of your vehicle.
As we progress, you will uncover the subtle nuances that separate a mediocre vinyl wrap job from a stand-out, professional finish.
Understanding Different Types of Vinyl
To fully comprehend the nuances of vinyl wrapping, it is essential to delve into the various types of vinyl used in the industry, each with its unique characteristics and applications.
Cast vinyl, known for its durability and conformability, is ideal for vehicle wraps due to its ability to adhere to complex curves. On the other hand, calendared vinyl, thicker and less expensive, is suitable for flat surfaces and short-term applications.
There is also specialty vinyl like chrome, matte, and carbon fiber designs, providing a unique aesthetic. Understanding these options allows for more informed decisions, ensuring the selected vinyl wrap meets specific needs and expectations, thus fostering a sense of belonging in the vinyl wrapping community.
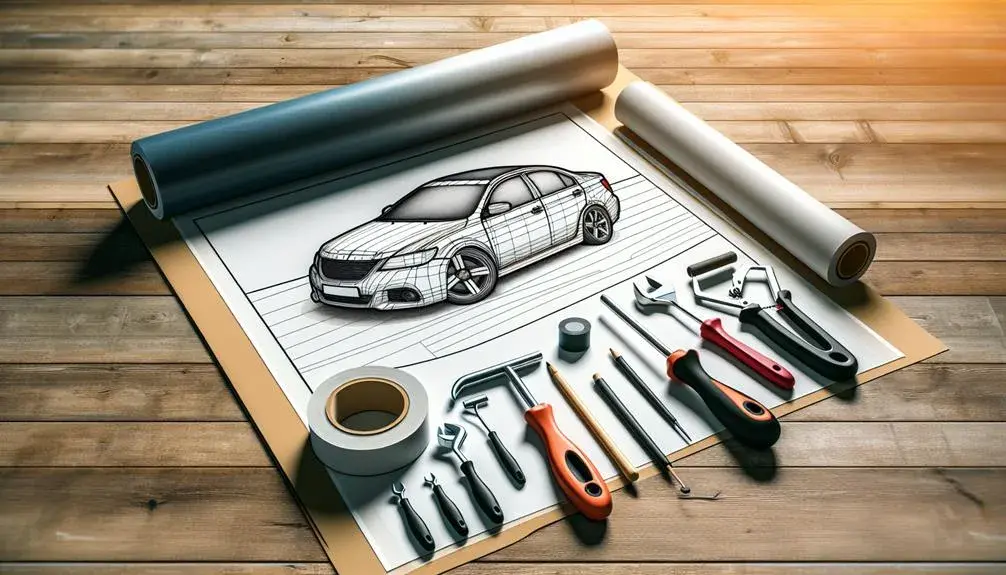
Step-by-Step Vinyl Application Guide
Are you ready to delve into the practical aspect of vinyl wrapping? Our step-by-step guide will elucidate the process, providing comprehensive directions for applying your chosen vinyl wrap with precision and professionalism.
To begin, thoroughly clean the surface you intend to wrap. Any dust or oil can prevent the vinyl from adhering properly.
Second, measure and cut your vinyl allowing for a little extra to ensure it covers the entire surface.
Thirdly, peel back a small section of the backing paper and press the adhesive side to the surface. Gradually peel away more backing while smoothing the vinyl onto the surface, ensuring no air bubbles remain.
Lastly, trim any excess vinyl. Congratulations, you’ve successfully applied your vinyl wrap!