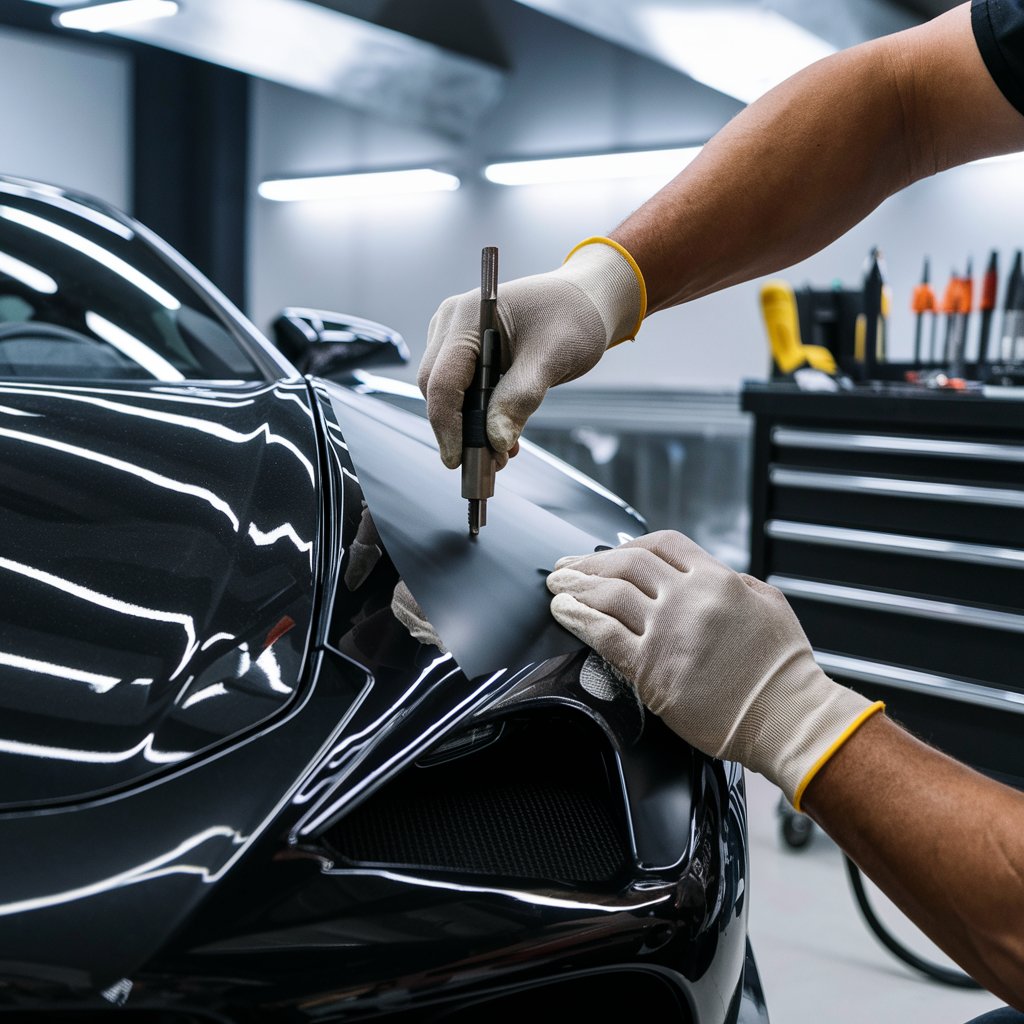
The application of a vinyl wrap to a vehicle is a meticulous process that demands precision, patience, and a thorough understanding of the materials and tools involved. For those new to this venture, the task may seem daunting, yet with a comprehensive, step-by-step guide, even a beginner can achieve a professional finish.
We will explore the intricacies of the vinyl wrap installation process, discussing each stage from material selection to vehicle preparation and application, with the intent to equip novice installers with the knowledge necessary to complete their own projects successfully.
As you embark on this transformative journey, you’ll realize how the art of vinyl wrapping can not only enhance the aesthetic appeal of your vehicle, but also provide a protective layer against environmental wear and tear.
So, shall we proceed?
Gathering Necessary Materials
Commencing your vinyl wrap installation project necessitates the meticulous procurement of certain essential materials to ensure a smooth and successful process.
Foremost, you require a high-quality vinyl wrap, chosen according to the size of your vehicle and personal aesthetic preferences.
The second item is a squeegee, pivotal for smoothing out air bubbles and ensuring a seamless wrap application.
A precise utility knife is also indispensable for cutting excess vinyl and creating clean edges.
Lastly, a heat gun, which aids in stretching the vinyl during application and sealing the wrap post-installation, is a crucial tool.
To be part of the vinyl wrap community, it is essential to equip oneself with these materials, reflecting commitment and professionalism, and fostering a sense of belonging.
Preparing Your Vehicle
Before embarking on the actual vinyl wrap installation, it is of paramount importance to thoroughly prepare your vehicle, a critical step that entails meticulous cleaning to eliminate dust, grease, and any potential contaminants that could compromise the adhesion of the vinyl wrap.
Begin by rinsing the vehicle’s surface, using a high-pressure water hose to remove loose dirt. A recommended next step is to wash with a mild detergent and soft sponge, focusing on corners and crevices where contaminants often reside. Consider clay barring for a deeper clean, followed by an alcohol-based cleaner to ensure a grease-free surface.
Lastly, ensure the vehicle is completely dry before proceeding. A well-prepared surface is key to a successful, long-lasting vinyl wrap installation, enhancing the bond and overall finish.